
There are two main parts to the barn door. The assembly of the door and the assembly of the rail. We'll do the door first.
Measure your door opening first to determine how many 1x6s to use. Our door is standard height and we used 12 1x6s going across.
The 1x6s are not glued together... we squared them on the garage floor using boards on each end to level them *real high tech here*. To keep them tight we used a clamp to pull the boards as tight as possible. We then screwed the boards together using the board across the top and bottom of the door. See picture below. There are six screws in each board. Two on top board, two on middle and two on bottom.
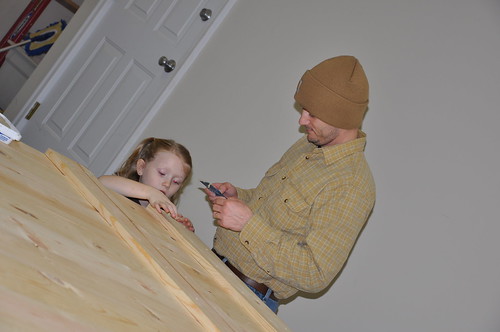
Now, I know that photo doesn't tell you very well about what's going on. And I apologize. But it's the best I could do. It's because while they were in the garage working on the barn door, I was doing a little work of my own.

I was working on baby announcements. See? Justified.
Moving on... we stained the door after it was all assembled. You may want to stain boards prior to assembly. Whatever floats your boat. Oh, before we stained the door, we used wood putty to cover the screws, which you actually saw in the picture above. So, that's that to the door assembly. Now, the rail assembly.
The rail was purchased from Tractor Supply and it's simply galvanized rail used for barn doors. Ours is the 10ft. rail. When we were looking at Tractor Supply for what we needed, we were able to find it all in the hardware section. They even had an instruction sheet on how to assemble the rail and exactly what to buy right down to what bolts to buy. We used their instruction guide for that. We did spray paint the rail with Rustoleum Metallic Bronze from Lowe's. I think that made all the difference in the world!
We used 1x6s for the header. Maybe we should have used 2x6s instead, which is recommeneded, but our door isn't heavy and it isn't opened regularly. The 1x6s screw into the studs with 3 inch screws.
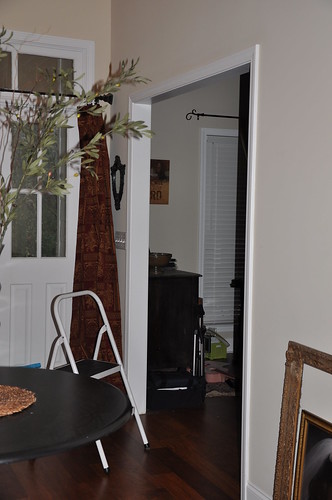
Here is the opening before.
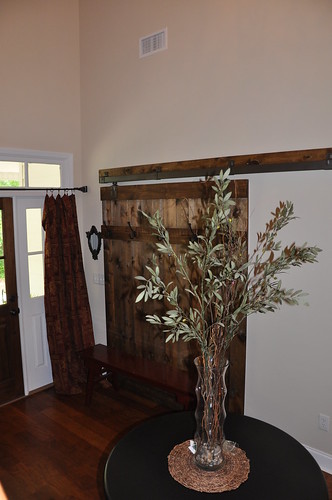
And here is the after.
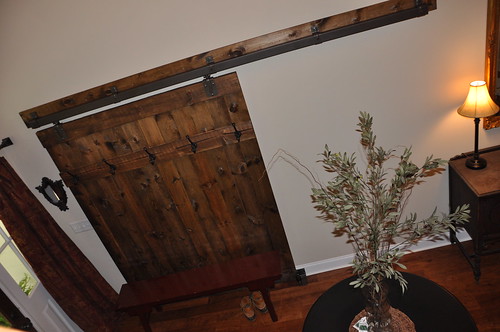
Another view (from the stairs):
So, that's it. I say that's it as if you can do it in 30 minutes. Not the case. No, it didn't take days to do, but it was time consuming considering the screwing, feeding baby, puttying, feeding baby, staining, feeding baby, spray painting... so, yes it took us 2 weekends to do because Shep was a newborn at the time. But all in all, it turned out great and we are very pleased with it. I know the tutorial could be a little bit better, obviously, but if you have any questions, I'll be happy to answer!
Pin It
I absolutely love your barn door! It turned out so beautiful. Love, love, love it! Thanks for sharing the tutorial with me. :)
ReplyDeleteBlessings!